 Als Preview
Get started
Set up the plugin in Live
One plugin on a set’s Main track, and the set records itself while you play. It also tracks the time you spend on the set, links each version to the save it came from and finds the files you export.
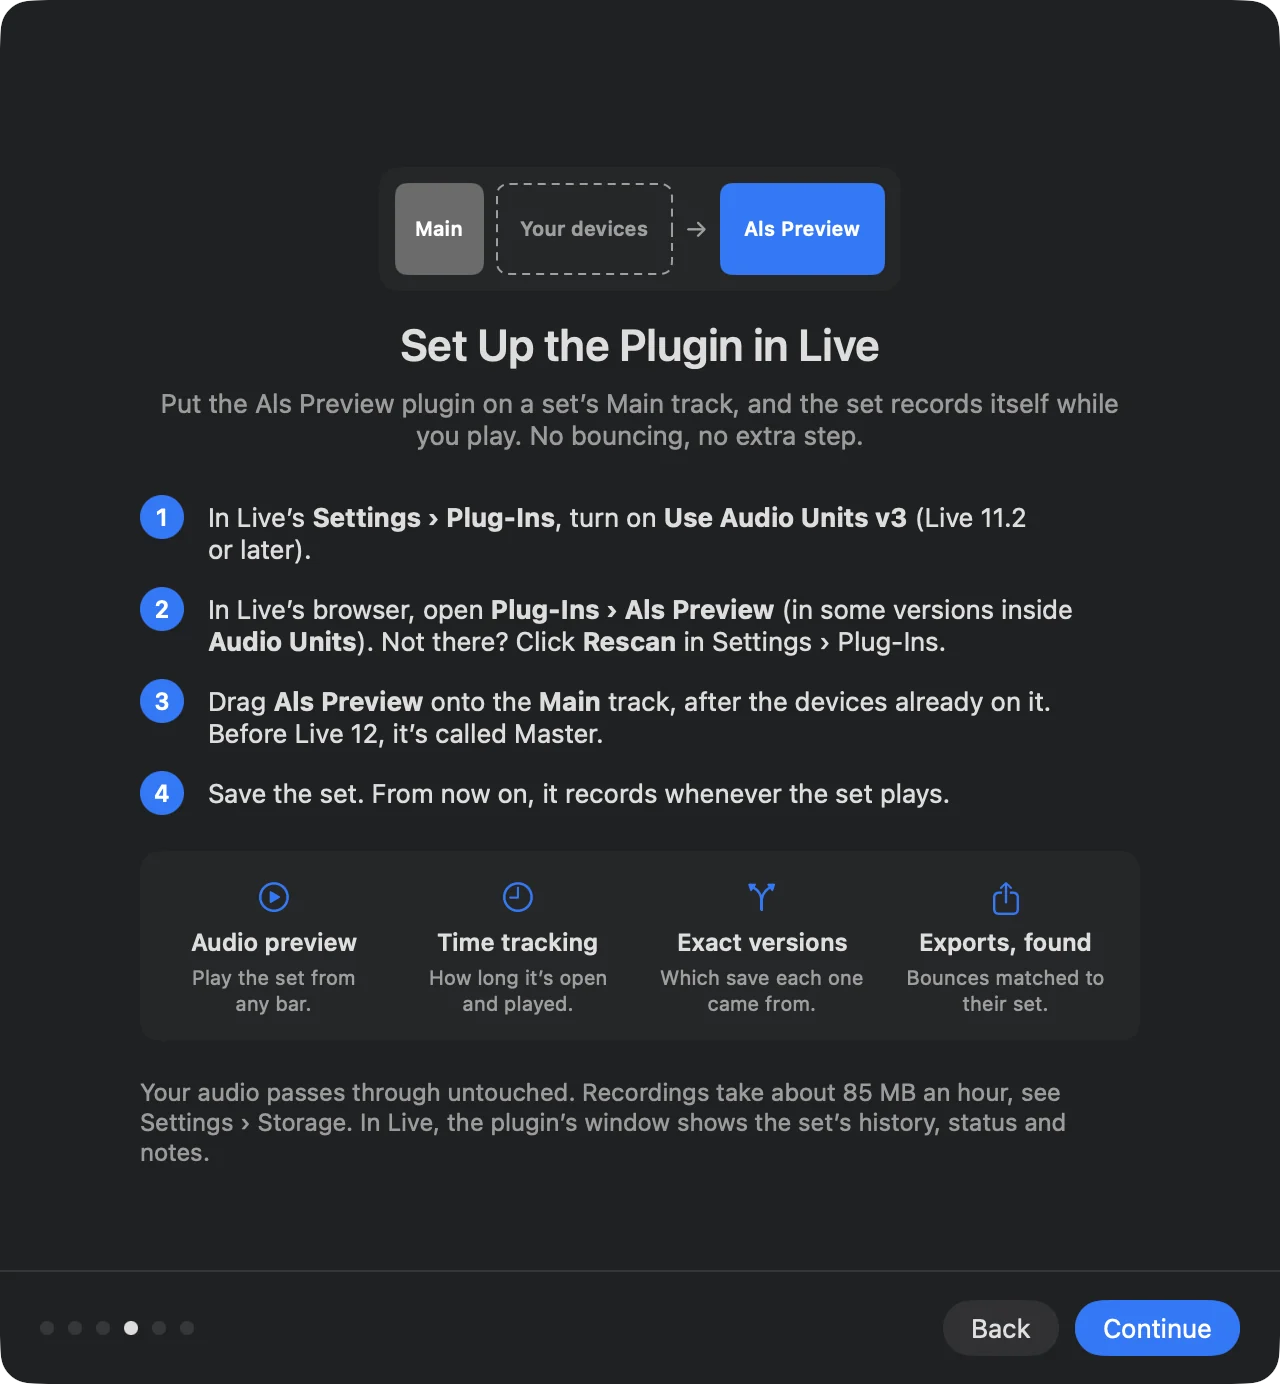
What the plugin gives you
- Audio preview
- Everything you play in Live is recorded in the background and appears under the set’s arrangement in Als Preview, ready to play from any bar. No bouncing, no export, no extra step. How recording works
- Time tracking
- How long the set is open in Live and how long it plays, per set, per project and per week. Time tracking
- Exact versions
- Which save each version came from, even after Save As, so the History shows exactly how a song grew. Versions and history
- Exports, found
- Files you export from the set are matched to it, even when you rename or move them later. Exports
The plugin passes your audio through untouched: it has no controls, adds no latency and doesn’t change the sound. It comes with Als Preview; there is nothing else to download or install.
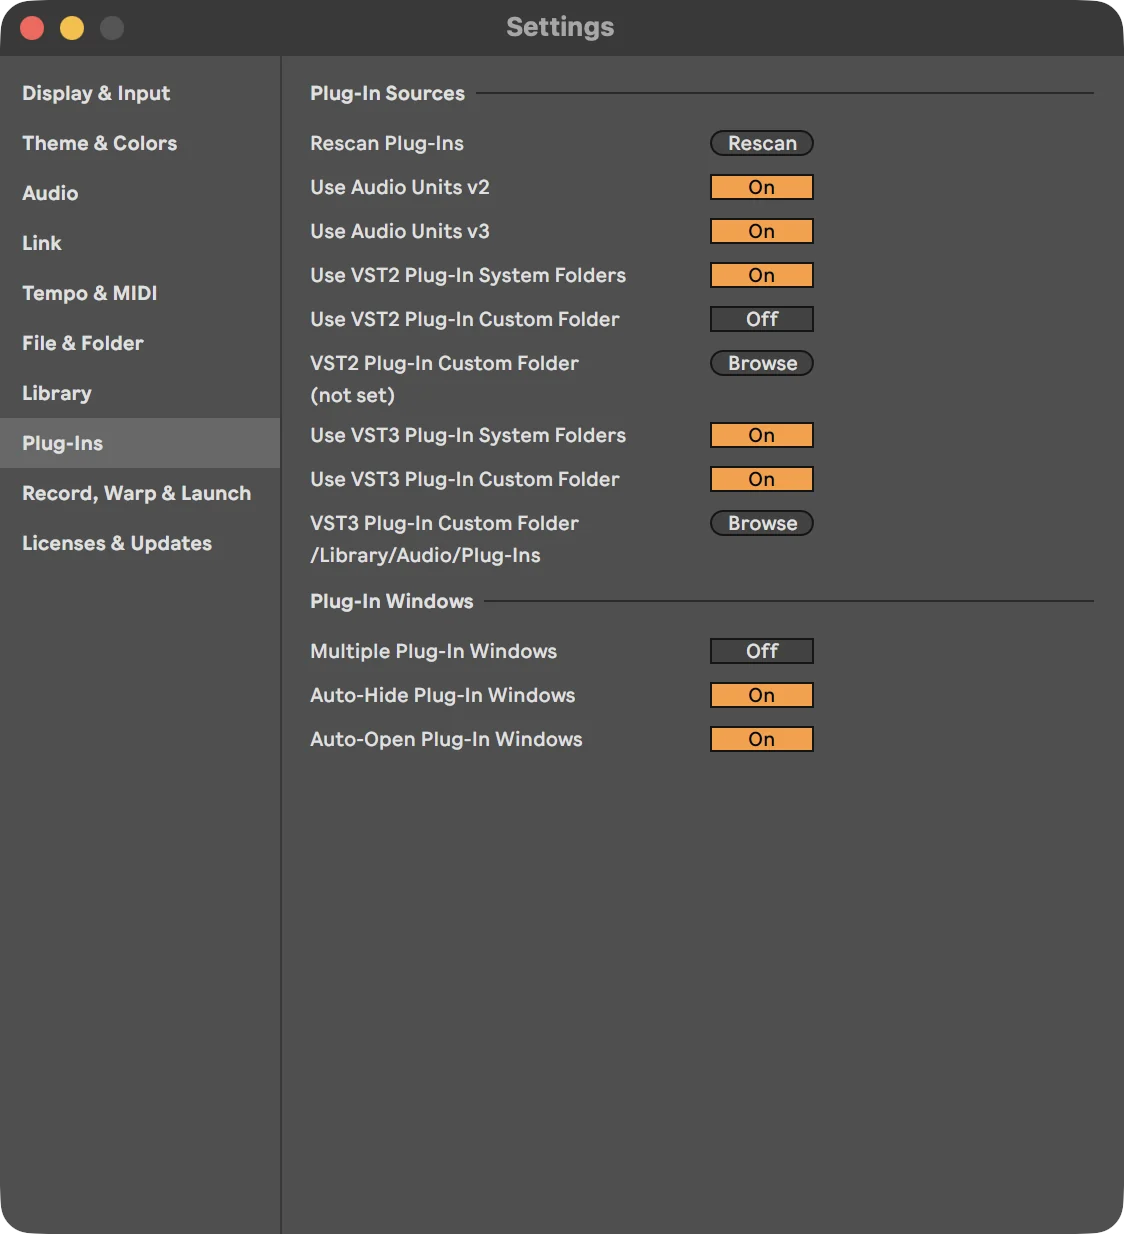
1. Turn on Audio Units v3
The plugin is an Audio Unit v3, the kind of plugin that comes inside a Mac app. Live supports these from version 11.2 on, but may not load them yet.
- In Live, choose Live › Settings… (⌘,). In Live 11 it’s called Preferences.
- Click the Plug-Ins tab.
- Turn on Use Audio Units v3. If it was off, Live scans your plugins once.
2. Find the plugin in Live’s browser
In Live’s browser on the left, click Plug-Ins and open the Als Preview folder. The plugin inside is called Als Preview, with the AU3 badge of an Audio Unit v3. Depending on your version of Live, the folder may sit inside an Audio Units folder.
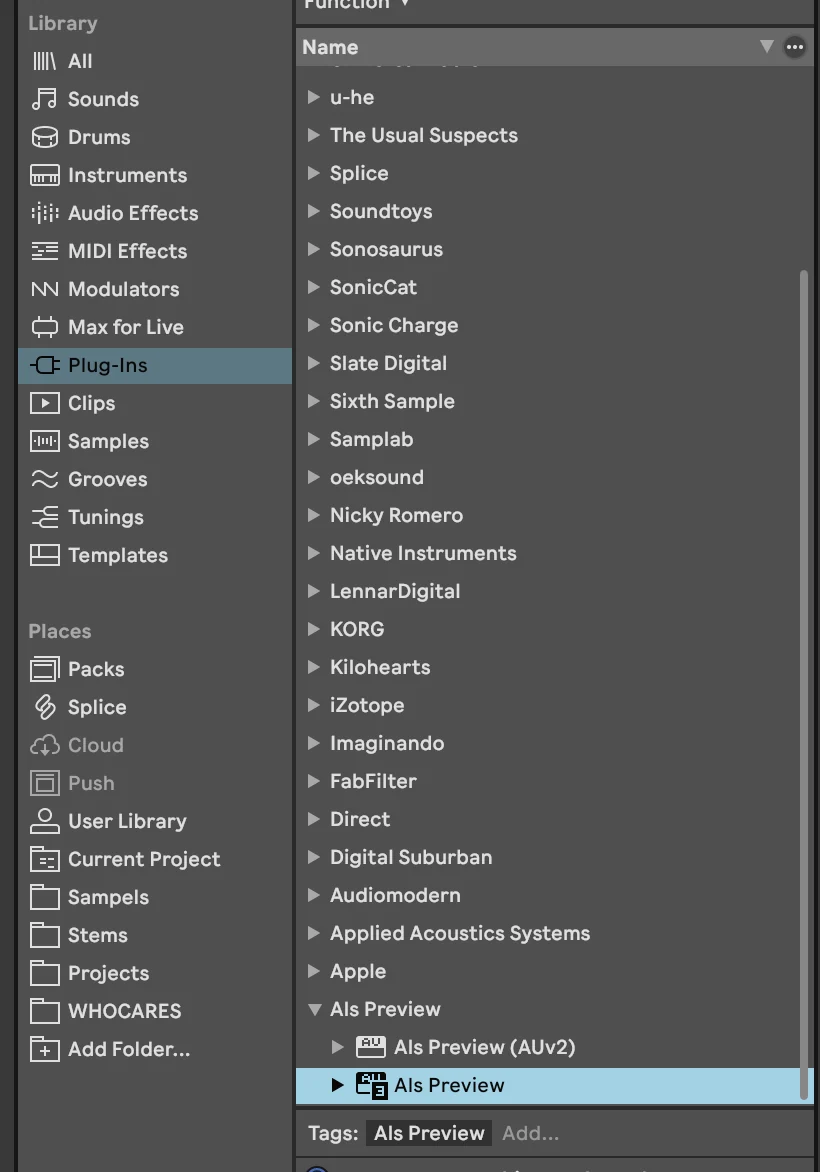
Not there? Open Als Preview once, so macOS registers the plugin that comes with it. Then click Rescan in Live’s Settings › Plug-Ins, or restart Live.
3. Put it on the Main track
- Click the Main track’s name to select it. In the Arrangement View it’s the last track, below the returns. Before Live 12 it was called Master.
- Drag Als Preview from the browser into the Main track’s device area at the bottom of the window, after the devices already there. Or double-click the plugin in the browser while the Main track is selected.
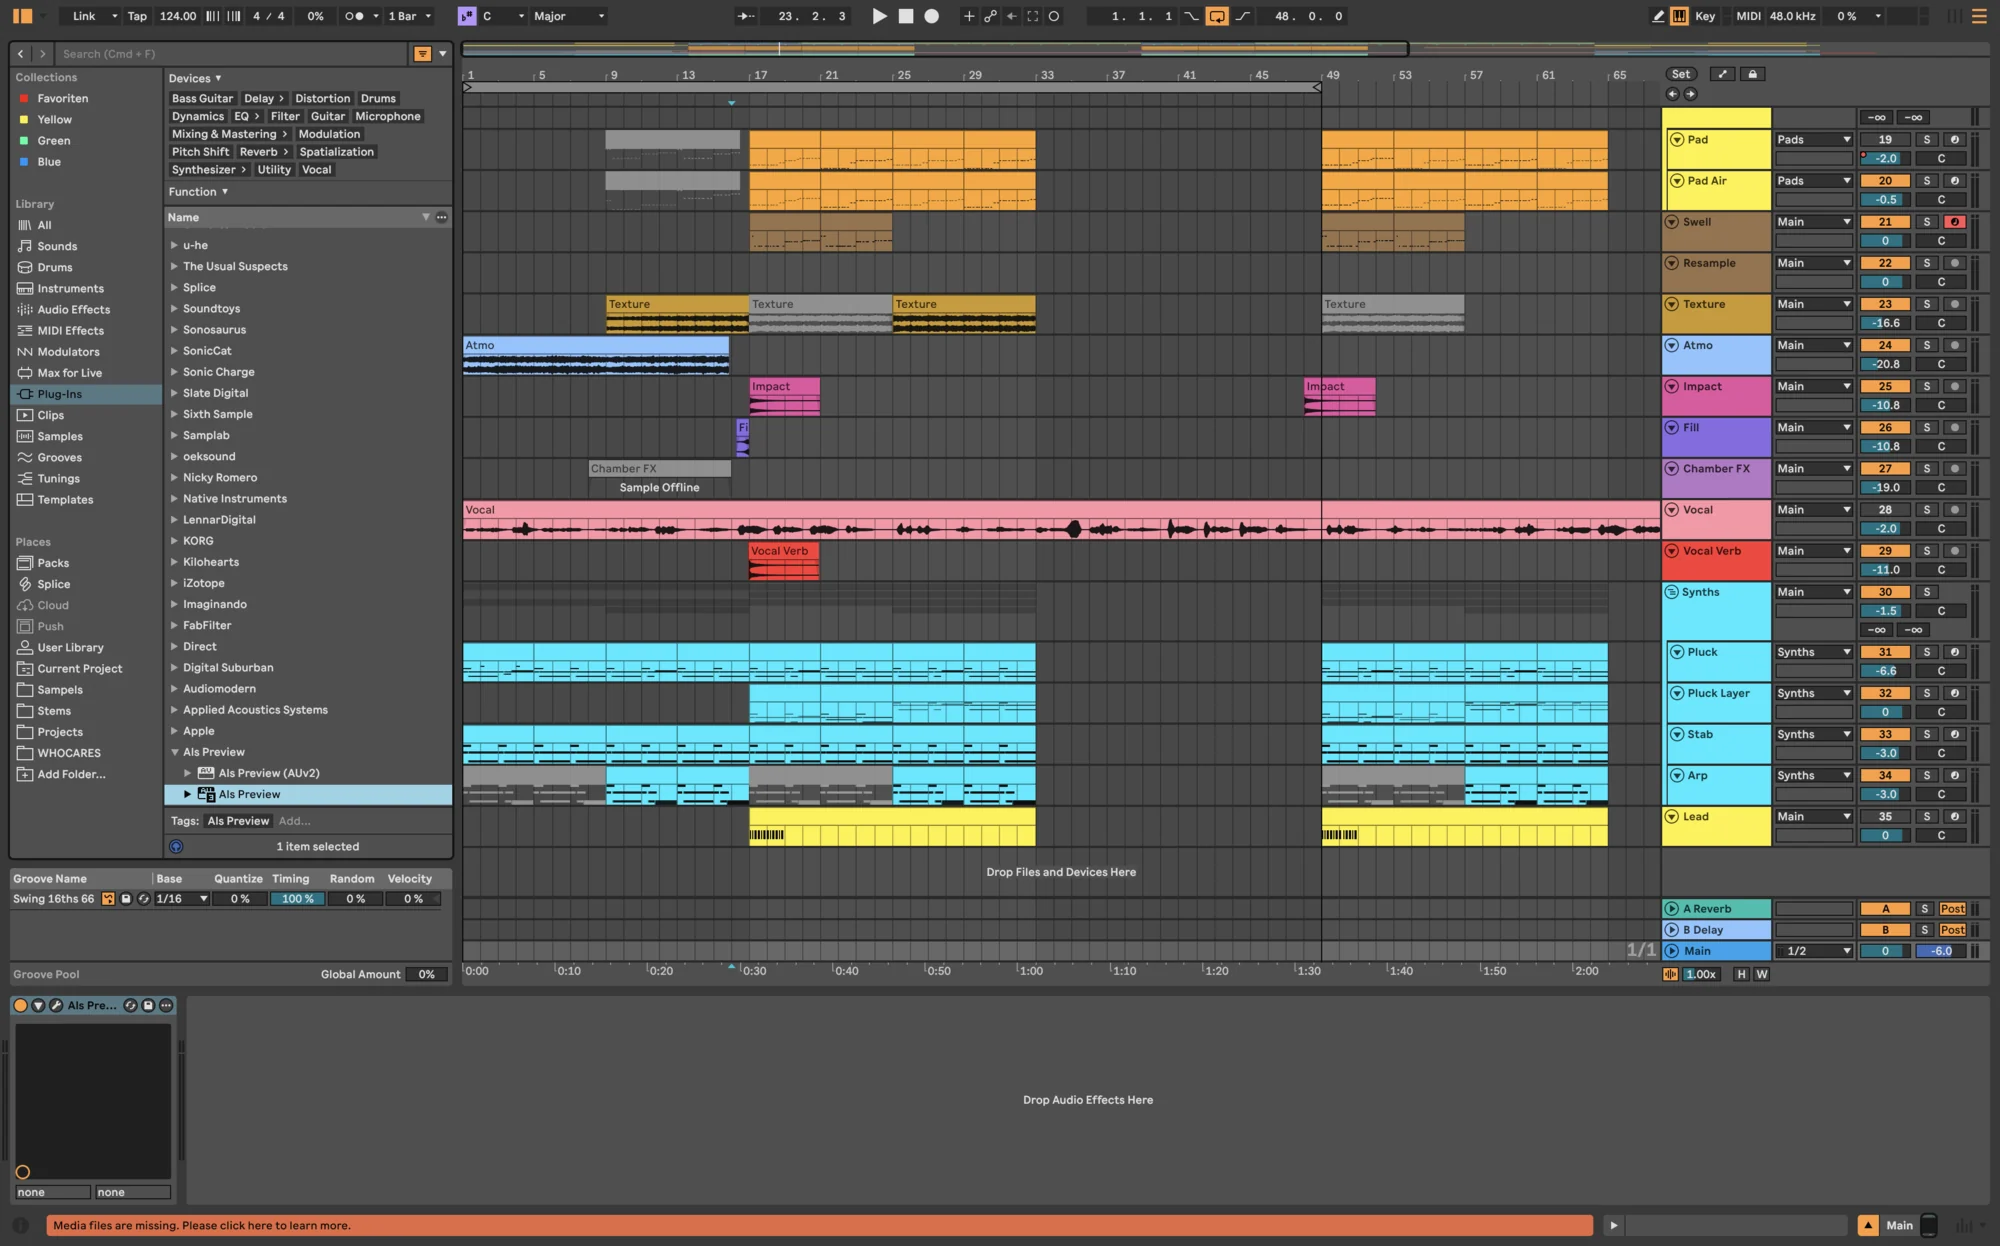
Last in the chain is best: then the plugin records everything, including what your limiter or bus compressor on the Main track does. Put it earlier, and the recording misses whatever comes after it.
4. Save the set
Save the set (⌘S). The plugin gives every set an ID that Live stores in the .als file, and that ID is how Als Preview ties recordings, time and exports to the set. From now on, the set records whenever it plays.
Once the set is saved in a folder of your library, Als Preview lists the project under Recorded in the sidebar and shows a plug in its Als Plugin column.
Check that it records
The plugin’s window opens when you add it, if Live’s Auto-Open Plug-In Windows setting is on. Otherwise click the wrench icon in the device’s title bar. Right after adding it to a new set, the window says the set isn’t in your library yet; once you save it into a library folder, it shows the set’s history, info and time.
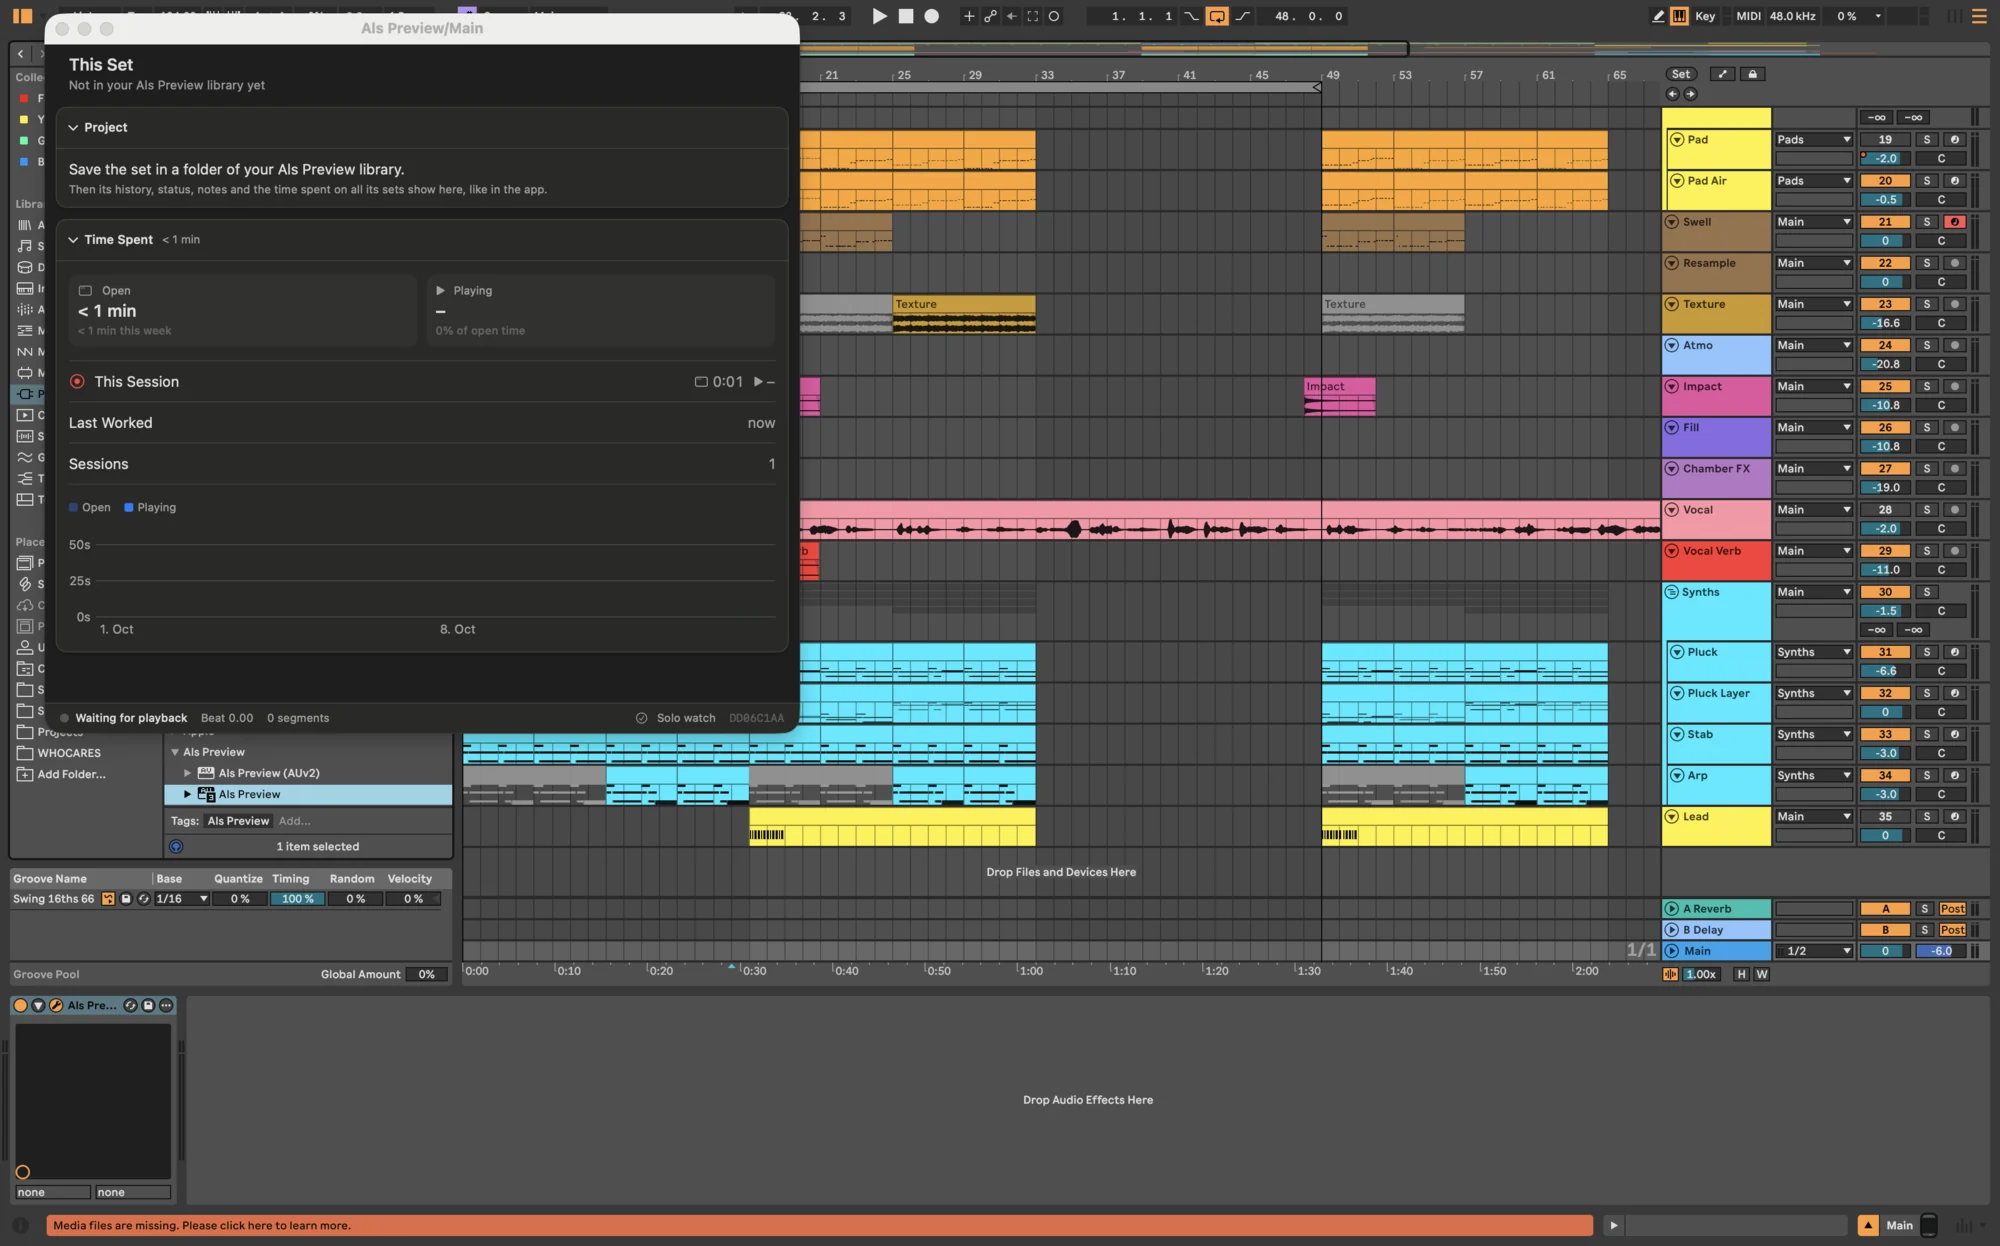
| The bar shows | What it means |
|---|---|
| Recording | Live is playing, and the plugin records. |
| Waiting for playback | Ready. Press Play in Live. |
| Paused – track soloed | A track is soloed, so nothing is recorded until the solo ends. Needs the Remote Script. |
| Idle | Live isn’t sending audio through the plugin, for example while the device is turned off. |
| Solo watch / No solo watch | Whether the Remote Script is running, so recording can pause during solos. |
Play a few bars, stop, and look at the set in Als Preview: the new take appears in the Recording lane under the arrangement. Everything the window shows is on The plugin window in Live.
Every set, or just some
Add the plugin to the sets you want to hear and track: the songs you’re working on, or every new set. Sets without it still show up in Als Preview with their arrangement, history and everything else; they just have no recording and no found exports. The Remote Script tracks the time of every set, with or without the plugin.
Next: Set up the Remote Script, so soloing a track never ends up in the recording and your time is tracked in every set.